
Do you have a ton of photos and have no clue how to keep them organized? Do you spend SO much time digging through old photos on your computer trying to find that one from that one session you did a few years ago with that girl from that thing? Yeah… I feel you. I have created a fool proof way of organizing my images that has proven super successful over the past fourteen years. So, sit back, absorb this goodness and start organizing your images like a boss.
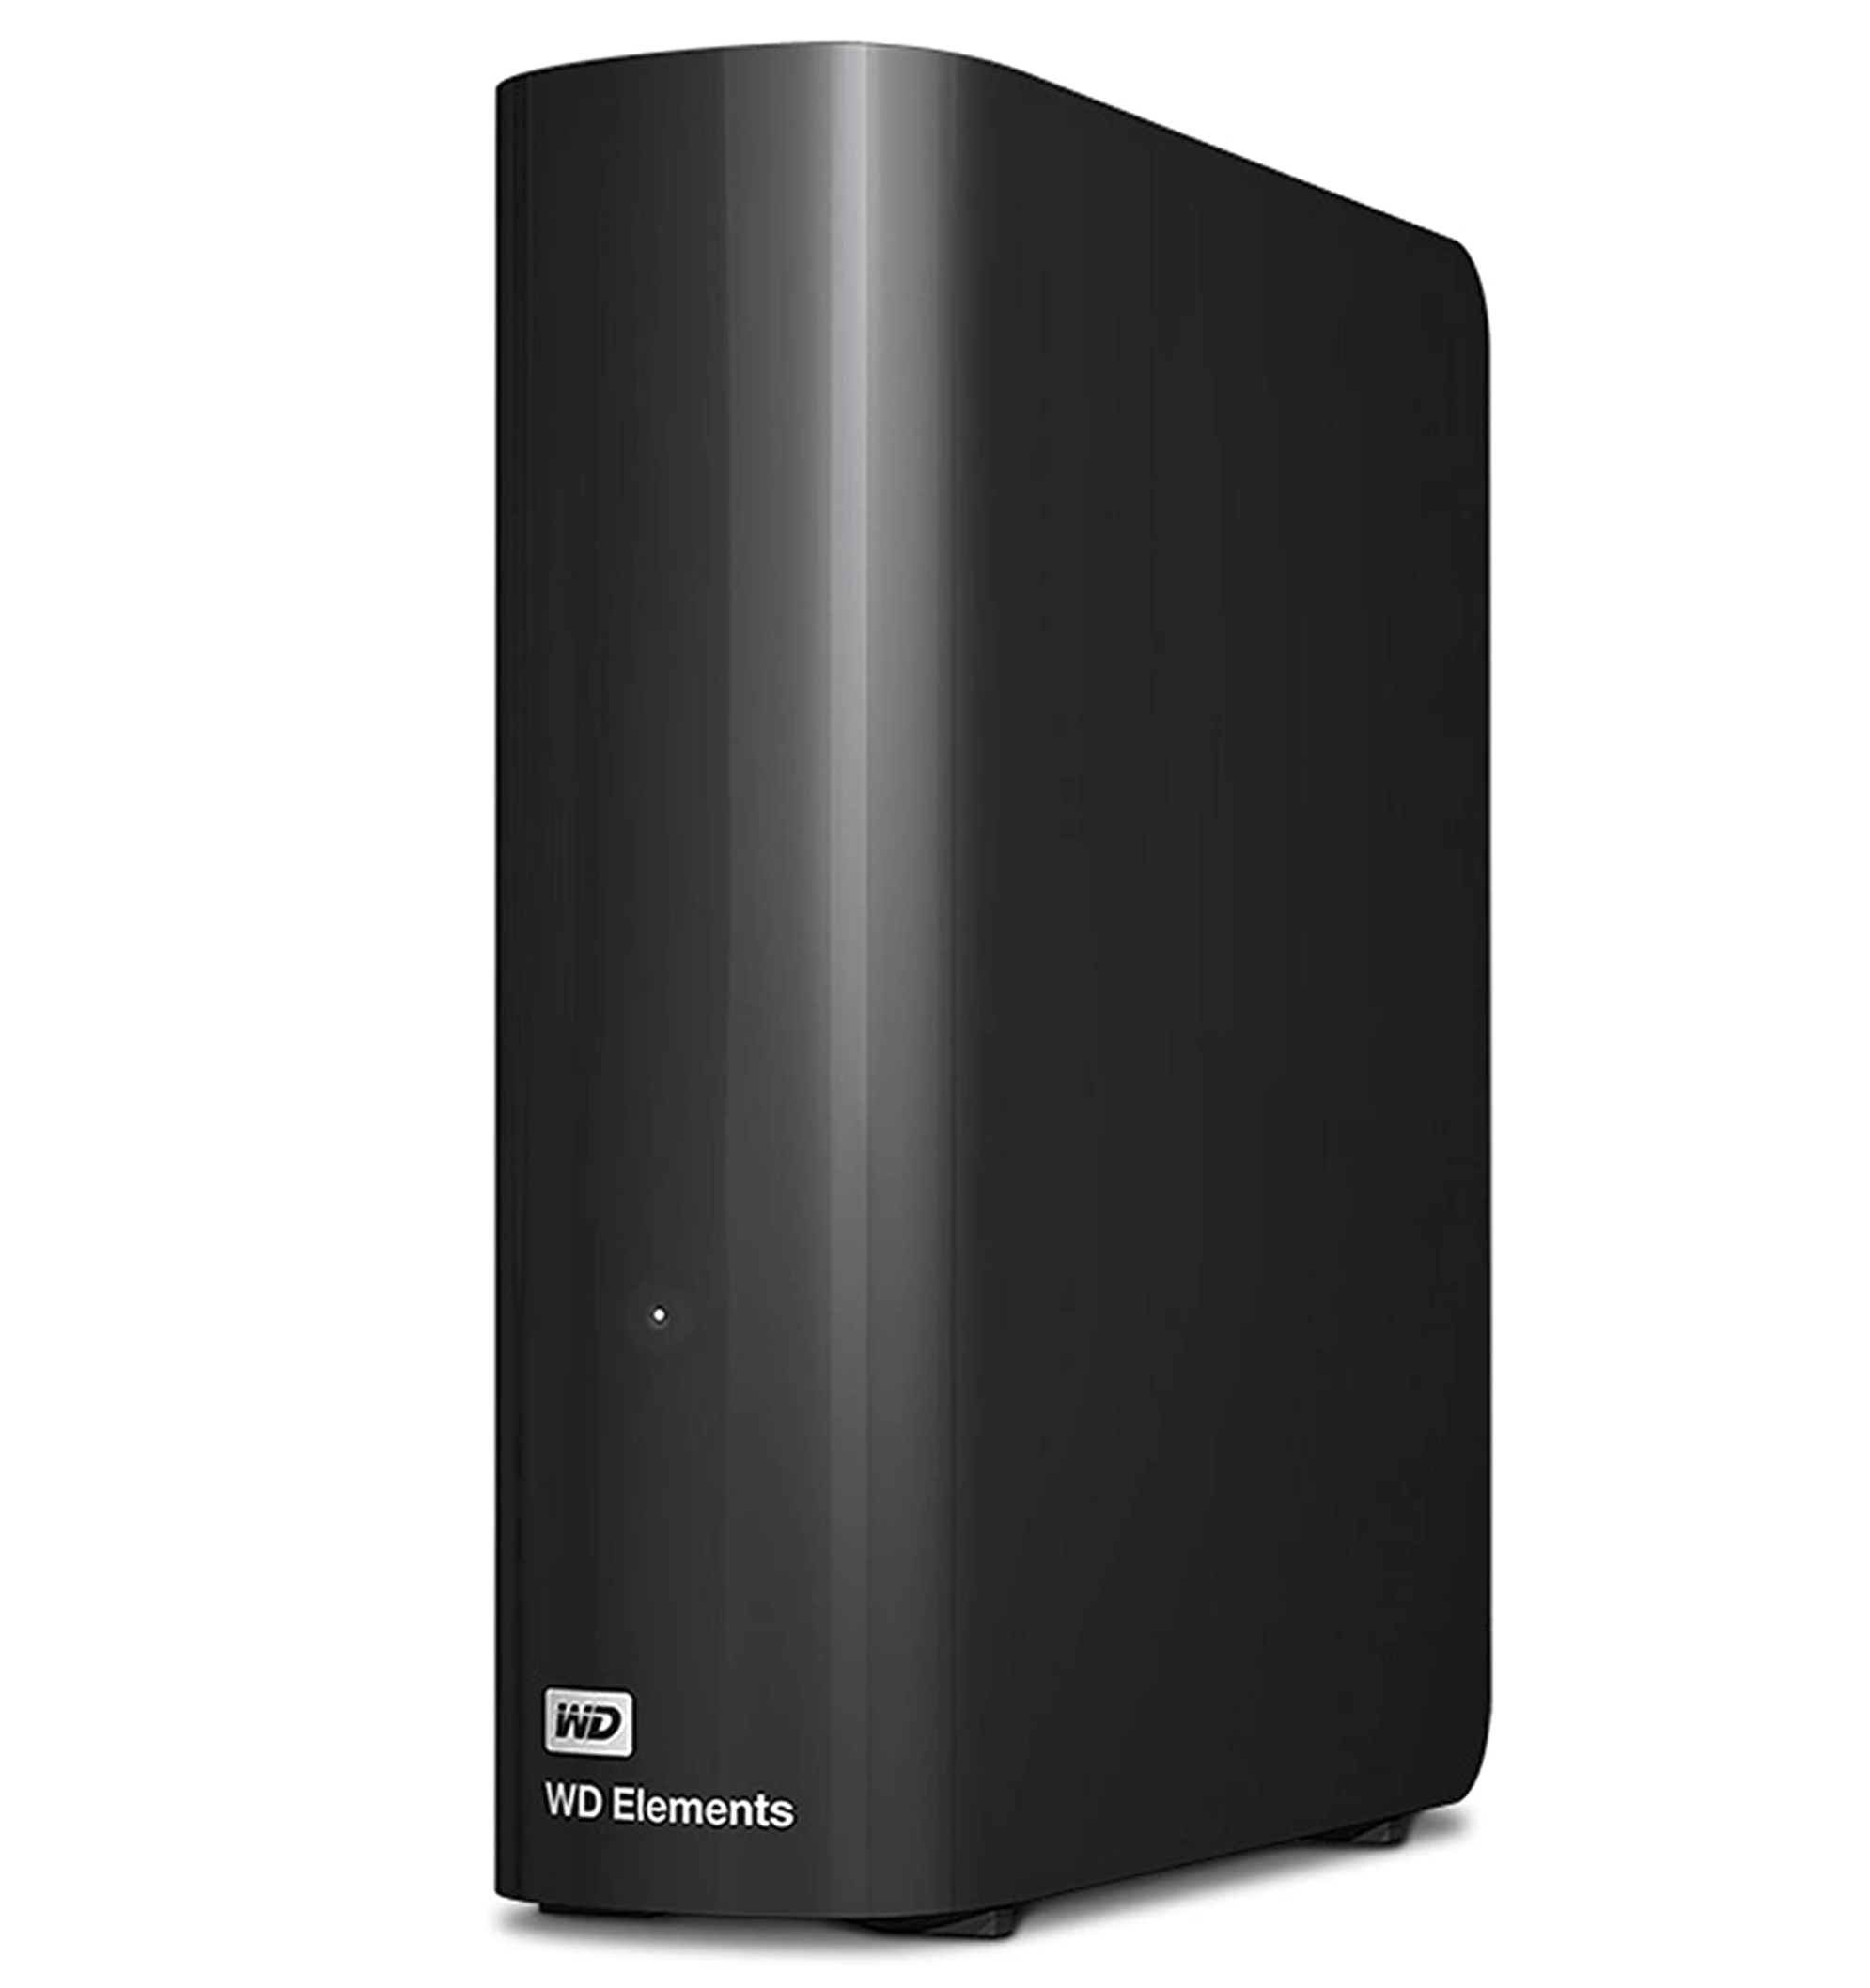
First, let’s start with proper storage. I am a big supporter of external hard drives. If you’re a pro, they are crucial. And, with the advances in technology, you can get super tiny and compact drives that carry multiple terabytes. Yes, you read that right.... TERABYTES! I usually have a 3 or 5TB small WesternDigital hard drive for each year and then a larger 12TB hard drive to keep a backup of everything from the past (however many years/photos will fit) AND then I do my backups on a third external 3 or 5TB hard drive through Time Machine (if you’re an Apple user).
So, if you’re keeping count… that’s THREE external hard drives I have to keep my photos backed up and protected.
Okay, you’ve got the hard drive… now what? Organize that shit! Below, I have included a screenshot of how I organize my files. It’s a system that has been so successful in helping me stay organized and able to quickly reference images.
I label all of my working hard drives by a number. ( I used to name them a city name by alphabetical order, but that got too confusing, so I stopped at Boston. Weird, I know.) So, now, we do numbers and it’s worked out great. Here we are on MGP #7. Since last year was in the crapper, we were able to utilize #7 for both 2020 and 2021.
Inside #7, I created a folder for each year as well as for all of my Lightroom presets and files. I kept Lightroom 2020 for both 2020 and 2021 since they are on the same hard drive because why make it harder for myself?
Inside of the folder 2021, I have each category of session that I offer. I used to just put every shoot in date order into one folder, but I found that putting them inside categories made it FAR more simple as I do over 150 family sessions a year and those clutter up my search process. This also makes it easier for me when editing in Lightroom because I’m able to shut a tab inside of the file management screen once all jobs are edited inside a category. (If you know, then you know.)
Inside the category folders, I have each session listed by date. I write out the YearMonthDate_Client’sLastName method. This has worked great for me since I am always editing in chronological order.

Open the Job Folder and inside I place all RAW images. For weddings specifically, I create two folders - one for the FIRST and SECOND shooters so I know which images were shot by the specific photographer. Once all images are edited, I export the JPG files into a folder called “_EDIT”. I place an underscore at the beginning of the word EDIT in order to keep that folder at the top of the image number list. Had I not done that in the collection, the EDIT file would go to the bottom of every set of images instead of staying at the top like the screenshot below.

After I upload a job to my “working hard drive”, I then drag and drop the files into my “MASTER” drive to make sure I have double back ups in case one hard drive fails me. Now… (knocking on wood BIG TIME) I have never had a hard drive fail me in all of my years of being a photographer. I am so fortunate to be able to say that. However, I HAVE had a memory card corrupt on me twice. Once, I lost a family session and the second time, I lost about 100 images from a wedding. That was BRUTAL! We lost photos of the bride’s family… and most important, her grandfather. My heart shattered when this was realized as my grandfather was so important to me and if I lost photos of my grandfather at my wedding… I would be devastated.
This taught me a very valuable lesson in that it’s crucial to have backups for my backups. I keep all memory cards for a shoot or event on my desk until the job has been completed and delivered… just in case. This does require me to have a TON of memory cards, but it’s worth the investment to avoid this issue from ever occurring again. I use Lexar CF and SD cards exclusively. I haven’t updated my card reader in a while, but when I do, it will be this Syntech Thunderbolt reader. (Great for Apple computers.) For all you USBers out there, this is a great option!

And, the final step in my process is client delivery! I use Pixieset and LOVE LOVE LOVE them! The design of their software is beautiful and the quality of their products is perfection. You can see how my client gallery home page looks to my clients below. It ties in seamlessly with the design of my website, so clients can’t even tell they’ve left my site. They take all the hard work out of client print orders for which I am forever grateful. One less thing for me to have to worry about and my clients are all so well taken care of! Use this link to sign up and receive 250MB of bonus storage! WOOHOO!!

And, that’s it! It may seem like a ton of steps and so much work to get it set up, but I promise you it’s worth all the effort to ensure your images are safe, backed up and protected. Every photographer is different, so customize and build out your system however works best for you! I’m happy to answer any questions you may have, so feel free to drop them in the comments below!
Happy Shooting!
(Note: I am an Amazon Affiliate. Yay!)